|
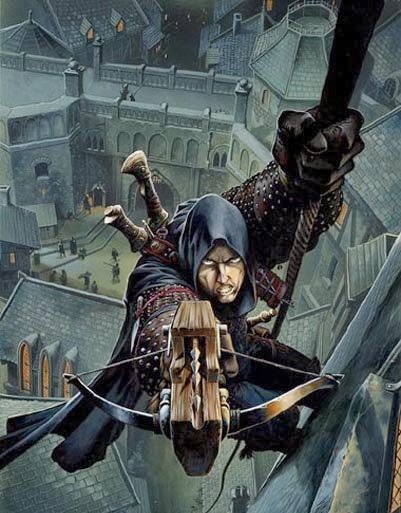
| One of my flying bases |
Just the Bases
Hand Cannon Online Part 1 and Part 2
Recently, I started painting again and it had been a while. Okay, it had been about a year and a half. It had been so long, that I got all of my basing steps out of order and it caused me extra work. So I am writing myself a blog for the steps I like to follow. Read along if you like =)
Step 1: Don't get too excited! I know you just got that new ______ but follow the steps! It will save you headaches later.
Step 2: Wash the mini in soap, water, and toothbrush. I have never actually done this step but I want to start. The last models came with a lot of mold release still on them.
 |
| Product Link |
Step 3: Clean the mold lines, flashing, and vents.
Step 4: Crimp the slots to hold tight in the slota-bases. Shave down the words on the slots if needed.
Step 5: Super Glue the mini into the slot and let it dry. I really like the Loctite Superglue Gel. It stays where I want it and has a tight, fast bond.
*If the base is large or the extra basing detail is large, reverse steps 6 & 7. Note the Tharn Ravager below. It actually worked better to glue the cork first but it was a pain painting the white glue around more pieces.
Step 6: Paint white glue onto the base. Add a drop or two of water to get it to flow around the feet. Dip the base with glue into the fine sand and knock off the extra. While it is still moist, use your thumb to clean up the ring of the base.
 |
| Small Slate Chips from Santa Cruz |
Step 7: Again, while it is still moist, move some of the sand out of the way and place a drop of Superglue Gel onto the base. Place several small stones/cork/slate onto the base. I do this step after the white glue because it makes it easier to paint the white glue on.
Step 8: Once dry, paint the base with a mix of [5 parts white glue / 5 parts black paint / 2-3 parts water]. The idea is to lock the sand down and let the black pigment sink into the crevices. The black doesn't have to cover because in a moment we will spray paint it. But first...
Step 9: Glue the metal washer onto the base. I use Gorillla Glue for this application, as explained in another post. If needed, shave down the extra metal from the slot with a Dremal sander so it doesn't 'rock' when on the washer. I like adding the metal washer because I feel like it adds a little weight to the miniature and makes it less top heavy. Do this after dipping it in the sand. Otherwise, trapped sand will continually sneak out. *Note: If you are going to magnetize the base to something like a movement try, the washer is out.
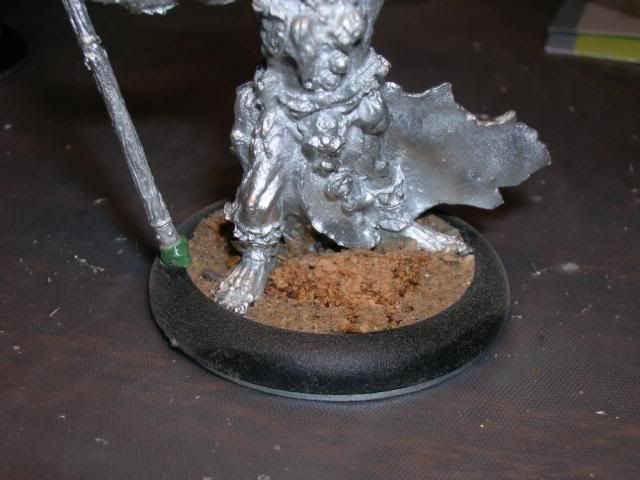 |
| Cork with Sand |
Step 11: Dry brush the base (and anything on the mini that needs dry brushing) first so your feet don't get dusty later.
Step 12: Don't get in a rush. Wait to glue the static grass on after the clear coat. Otherwise, static grass will find it's way into every nook and cranny of the mini.
This is my current process, broken down into the gory details. What do you like? What do you do differently?