Instagram Feed

Tuesday, November 8, 2016

Card Holder

Found this dragon online.  I moved it to MS Word so I could scale it to the correct size. 
This is after I cut the pattern in with the swivel knife.

This is the pattern for the back side of the card holder.  It is the dragon's eye.

This is after the tooling.  I beveled the edges and used the backgrounder where I could.

This was all beveling.  I still want to work on smoothing out my lines when I "walk" the tool.

This is what it looks like when you smear the antique finish on.  I went on to cover the whole front of the leather.  Used Fiebing's Antique Finish Medium Brown.

I wrapped a ruler in a paper towel and wiped off the excess.  This allows the Antique to really sit down in the tooling.

Add caption


Following the directions in the kit, I tied the three layers together with the top knot.  Then, I started with a single needle and did a simple pinning stitch.  At the end, I started the running stitch back the other way.  A tip they mention is to make sure you come up on the same side of the stitch on every stitch.  I aimed for the outside edge as much as I could.

This is the finished project.  I hammered the stitching and burnished the edges. 
This is the other side.  The two little water spots went away when dry.

This is a test piece I did with the belly of some leather I bought.  The stamp was done with archival WATERPROOF brown ink.  The leather took it nicely.  I then did minimal tooling under the mouse just to see what it will look like.

On the other side I did testing to see what worked together.  In the left most section, I played a layer of Super Shene, then Antique Finish, then All in 1.  I might not have let it set totally but the All in One Stain and Finish lifted the Antique Finish right out of the pear shading.  Not Good.  I also labeled it with a fine tip sharpie marker and had no runs from any of the products
Below are some of the products I used for this project.  I get a small amount if you click on the link and purchase the product. However, I am not supported by any of the companies represented.


Wednesday, November 2, 2016

Dyeing and Finishing Leather Projects

Part two of the leather projects.  After carving, I went to the store and got colors and finishes.  The kit came with an all-in-one stain and finish but with would only produce a monotone.  I was looking for something more.

Celtic Bracelet - 4 coats of Eco-Flo Super Shene on the "ribbons" and 2 coats in the dots.  Fiebing's Antique Paste Medium Brown.  Fiebing's Leather Sheen, two coats and buffing between.


The light ribbon and 4 dots are where the Super Shene was painted on.  The dark areas are where the antique finish collected in the tooling marks.  The overall color of the leather is where the antique finish touched the untreated leather.  Overall, I am very happy with my first project.

"Mario" Key Fob - Eco-Flo Cova Color - I used white as a base coat for the star and the mushroom.  Three coast of yellow over the white in the star, then 3 coats of Super Shene.  Three coats of green over the white.  Two more coats of white in the white parts.  I used a drop of water to help them flow better.  Two coats of Super Shene over the tan part of the mushroom's face.  Three coats of Super Shene over the white and green.  I tried to avoid Super Shene down in the cuts, especially between the white and green, so that the next step highlights the cuts.


I also daubed the edges with the antique finish.  Later, I dampened the edges and used the burnishing tool to smooth the edges.  This is my new favorite tool!!


Below are some of the products I used for this project. I get a small amount if you click on the link and purchase the product. However, I am not supported by any of the companies represented.


Wednesday, October 26, 2016

New Possible Hobby

Miniatures is always my first love but lately I have been bitten by the leather working bug.  I have logged about 10+ hours watching how to videos on youtube and Tandy Leatherworking sites.  Here is what I have so far.

I found a starter set at a craft store for 40% off.  It came with a couple of practice pieces, and a couple of starter projects.  I didn't really care for the included patterns of I did one of them on the practice piece so I could follow the step by step instruction.  Then I went and found a patter I might actually wear on a bracelet.

Cool random pattern I found online.  I scaled it until it fit well on the bracelet blank included in the set.

Dampen the leather with sponge.  Technically, this is called "casing" the leather.  You wait for it to start to return to normal color.

Tape the pattern, but not on the leather.  Leather doesn't like tape.

Use a ballpoint pen or other smooth tool to impress the design in the damp leather.

Cut the pattern into the leather using the swivel knife.  There is a great instructional video on the Tandy website on how to hone and use the swivel knife.

I used the bevel tool at each intersection to make it look like the bands were going beneath each other.  I used the seeder in each middle joint.  I used the backgrounder in the negative space.

I went ahead and used the bevel on the outside of the design.  I could have left it as it was.

This is the key ring fob.  I found the 2 patterns online.  I think they were coloring page designs.  I cut them in, beveled around the edges, and used the backgrounder to make the eyes.
The kit I got only has one color of dye and I am waiting until I can get a 2-tone effect to complete them.  Not bad for a first attempt!

Below is the link to the starter kit I used. If you click on the link and purchase, I get a small fee.  However, I am not supported by any of the companies mentioned.

Halloween Sewing

I haven't sewn in 15+ years but I decided I didn't want to pay $20 a scarf for Harry Potter colors.  Looking back, I still don't want to pay that much but I have a better appreciation of the price ;)

I found an easy sewing site here.  She made scarfs out of fleece and I found it at Joanne's when it was 50% off.
We had the tie and took it for color comparison.

Modifications to the author's instructions: 

Note on the sizes she uses.  The author has you end up with 4" x 9" wide strips that you sew together.  You end up with a 4" wide scarf.  I would alter this so that you end up with 5" x 18" to get a 8" wide scarf.  (We used 1/2" seam allowances). 

Going by her instructions, we ended up with 16 strips of color per scarf, 48" long.  You can see in the last picture that this is short on an adult.  By upping the width of the strips from 4 to 5", you make up part of this.  I would also recommend cutting more than 16 strips.  I would probably go to 18 to 20 strips at 5" x 18".  I believe that would get you close to 72" with 1/2" seem allowances.  Add more strips as needed.

Finally, I might choose a different fabric.  Fleece as easy to use because the edges didn't fray but you can't iron in a crease in fleece.  The whole scarf ended up a little tube like.  You are on your own deciding about fabric.

We were making 4 scarves at the same time this is what we did.


We cut the fleece with a rotary cutter using the original dimensions of 4"x9".  Actually, we did 4"x36", essentially sewing all the scarves at the same time and cut them apart later.

Here, I pinned pairs of the maroon and yellow fabric together.

Here are the 8 pairs of maroon and yellow, after running them through the sewing machine and using a 1/2" seem.

After several hours of sewing, I had all the stripes sewn together.  I have to confess, it was very tempting to leave it as a blanket!  We also took the time to even up the edges with the rotary cutter.  Next, we cut across the strips to make 4 even scarves, 9" wide.

Start pinning the scarf so that you have an inside out tube.  With 2 sections done, we safety pinned a tough string inside the tube so that we could pull on it later. Then, finish pinning down the tube.  When sewing, it was important to smooth out the seems I was sewing over.  The machine would not go through 5 layers.  In fact, it would only work if I started the machine a ways back and DID NOT stop on the thick seem.  If I did, it was tough to get it going again.  Once the sewing is complete, pull the string attached inside to flip it right side out.

I like the way it turned out.  As I mentioned, it is short on an adult.  I also choose to whip stitch the ends closed but could have made the fringe like you see in the movie picture above by cutting the ends. 

More pictures to come on our Halloween outfits.  We plan on using our black graduation robes, the scarves, and a Hogwarts magnet emblem for a fairly low-cost outfit.  All in, it took total of 7 hours for 4 scarves.

Monday, September 19, 2016

Finished Ol' Rowdy

Mostly finished actually.  Here he is.  Only thing missing is the spray finish and some flock grass.


Friday, September 16, 2016

Game Last Night

I got to play a game last night!  I want to get in a least one game a week during the Crossroads League so I get my participation coin.  It feels a little like how everyone got a trophy in little league but I am going to take it!  I played against Kenneth and he was a great opponent.  He took time to go through his forces with me, which was great because I had never battled against a Cephalyx themed force and it was certainly different.  Their use of focus is almost a blend of focus and fury.  The Monstrosities Subduer and Wrecker (the two 'jack like beings) are huge meat mountains able to soak up a ton of damage.  The Drudges are cheap and able to tie you up in melee.  He played the caster Cognifex Cyphon. 

We also played the league game Ol' Jeb in a Rumble Format.  If I could kill Ol' Jeb, I would win and gain the achievement point.  The Rumble format is played on a 30" x 30" table with a max of 35 its and felt like the equivalent of starting on turn 2.  Unfortunately, this did not help me against a melee heavy opponent!  I lost the match and Darius hung his head in defeat.  


Cognifex Cyphon with Dominator, Mind Bender and Drudges, 

Darius with maxed out Trencher unit, Ironclad, Hammersmith, and Hunter.

Thursday, September 15, 2016

Post 250!

I started this blog in April of 2009 as a way to catalog the techniques and paints I was using on my miniatures.  You can read the first post here.  I was already playing Warmachine (Cygnar) and I had recently gotten into Hordes (Circle).  I chose Circle because they were primarily browns and greens.  I already had blue Cygnar, blue Warhammer Fantasy Lizardmen, and blue Warhammer 40k Space Marines.  I wanted to branch out and you can see my first attempts at other colors in the Tharn Ravagers.  I still have a love for blue and have started picking up Trollkin for Hordes.  Let's face it, blue makes me happy!

Over the years, I began doing a Heads Up Display for my new years resolutions.  You can find them in the side bar or the 2016 one here.  I recently went back and realized that a number of those miniatures have been sitting on each years list for multiple years.  Granted I wasn't painting much but it was a tough thing to see Eiryss the Mage Hunter, the Firefly 'Jack, and the Cyclone 'jack from back in 2012.  My biggest goal this year is to see those three done and off the list.

My other big go get is to actually play more.  I started playing at the local game store with MK3 released and I have played my goal of 10 games.  I am planning on playing tonight as a matter of fact, so I can get the requisite games in for the Crossroads League.

In the last few years, I have also had the great fortune to develop an RPG group and some of their adventures have ended up here.  I have also discovered the great joy of board games again.  These two interests culminated in a Grill Drink Game Con that we had at my house in April.  We had about 15-20 people show up.  We grilled.  We drank.  We gamed.  It was awesome!

Recently, I purchased my first air brush and started learning those techniques of painting.  I have wanted to try this for years and I am truly enjoying it.  I also built 
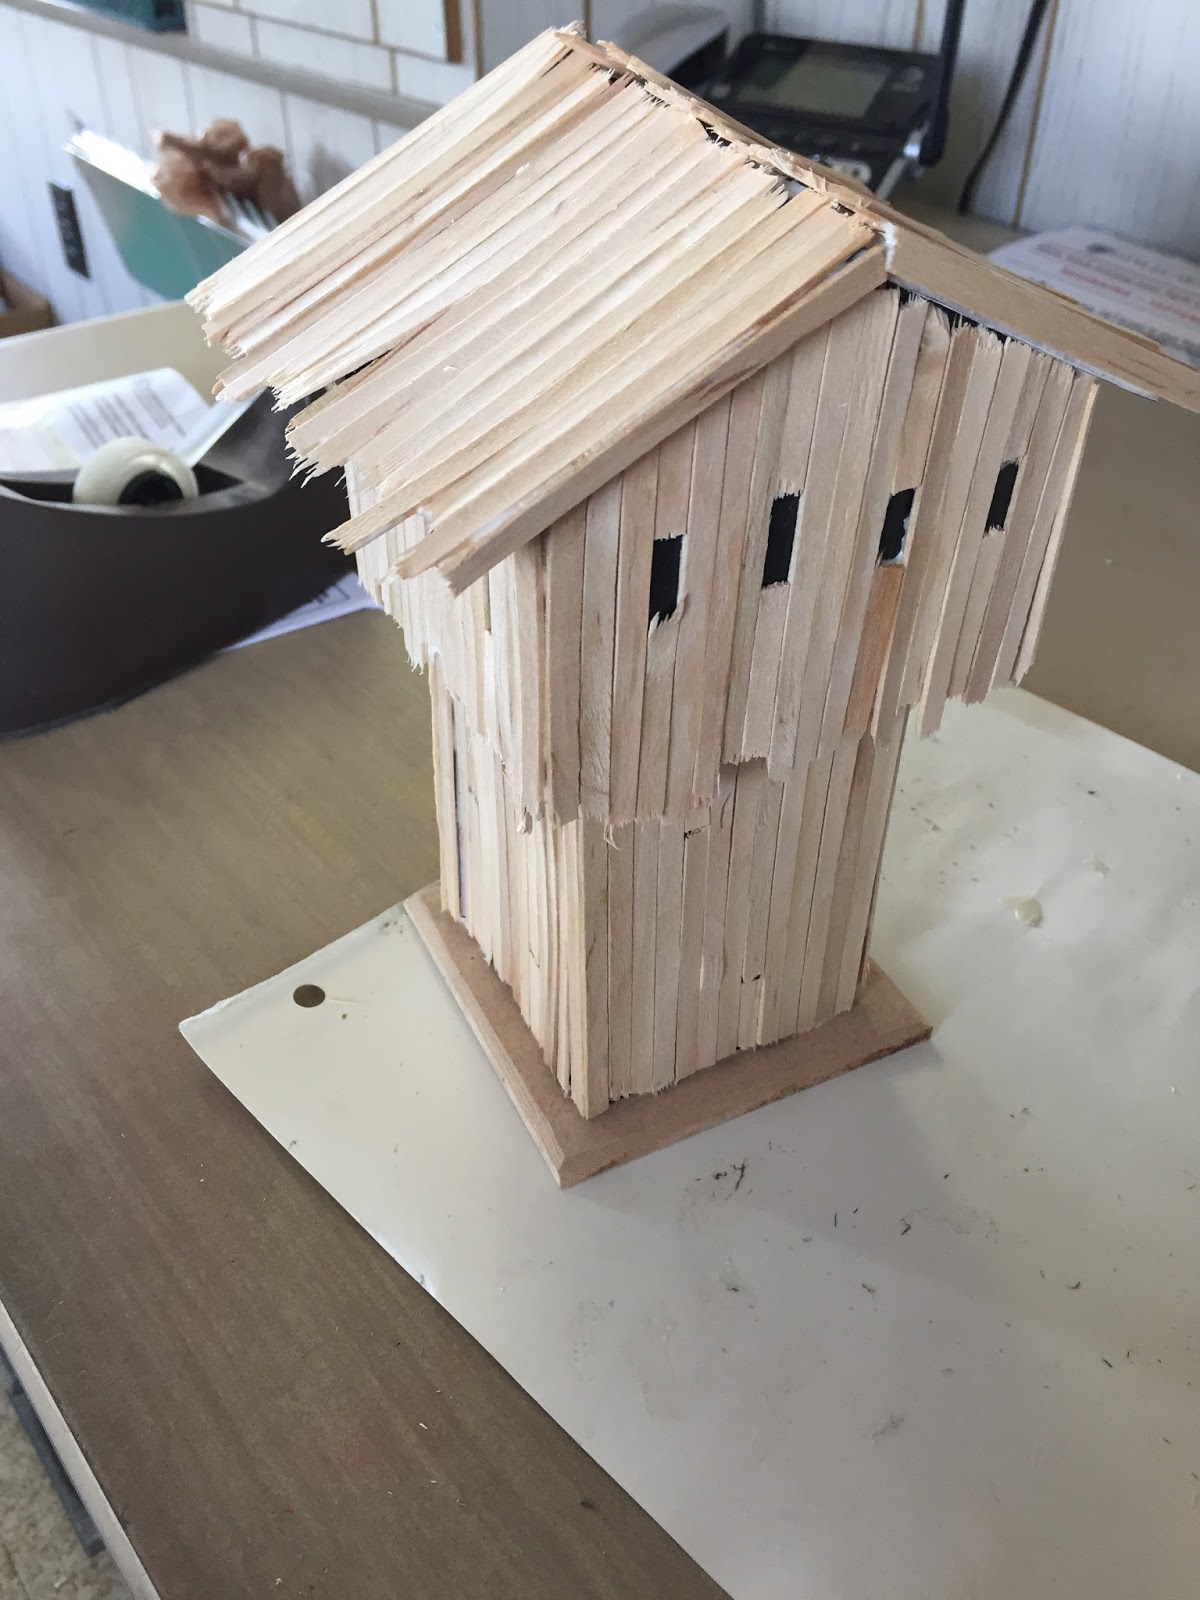
my first terrain pieces.  These were also a surprise enjoyment!

For the rest of the year, I hope to complete the three miniatures I listed above.  I also plan to continue playing.  I have started a new job that gives me a lot more free time and I hope to put it to "painting" use!  Thanks for a great 250 posts!
The unpainted masses cry out for paint!!

Archer's Tower for Bandit Fort part 1

My "Plan"  I based the floors off of 2" tall.  In order to cover a  small based miniature, the obstacle must be 1.75" tall.  The rules in Season 1 say "The Archer’s Tower terrain feature is treated as an obstruction that grants cover and should be no larger than 4 ̋ × 4 ̋."  
I made the skeleton of the tower from foam core board.  I haven't used this in years and I was not expecting the jagged edges, even with a new blade.

I found craft sticks at the hobby store that were 12" long and then.  I used my pliers to break off the "popsicle-looking" ends and laid them on with PVA glue.  I left breaks in the sticks to show the archers' windows.


I broke some of the sticks in the middle to add to the ramshackle look.

Same technique on the room

I made the door separate and glued it on as I was finishing the bottom.

I glued the top, bottom, and base all together.  The base is 4" x 4".  The top of the roof is 8", providing some cover even for huge based miniatures, which are considered to be 5" tall.
I am considering using stain on the wood to bring out the definition.  My default is to paint it but maybe stain would be more interesting...

Label Cloud

Mini's Past