Instagram Feed

Wednesday, May 6, 2009

Magnet Fun!

My magnets finally came yesterday! Size = 0.250" diameter (6.4mm) and 0.063" thick (1.6mm).


I played around with them for a while and then started putting them on my minis. You can't see it from the pic but the magnet is thinner than the recess of the base. When they are on the movement try with the metal in it, the magnet will still pull but it will not actually touch the metal. I had heard that if these magnets stay in constant contact with metal, they will lose some of their pulling force. I'm not sure if that's the case, but why risk it?


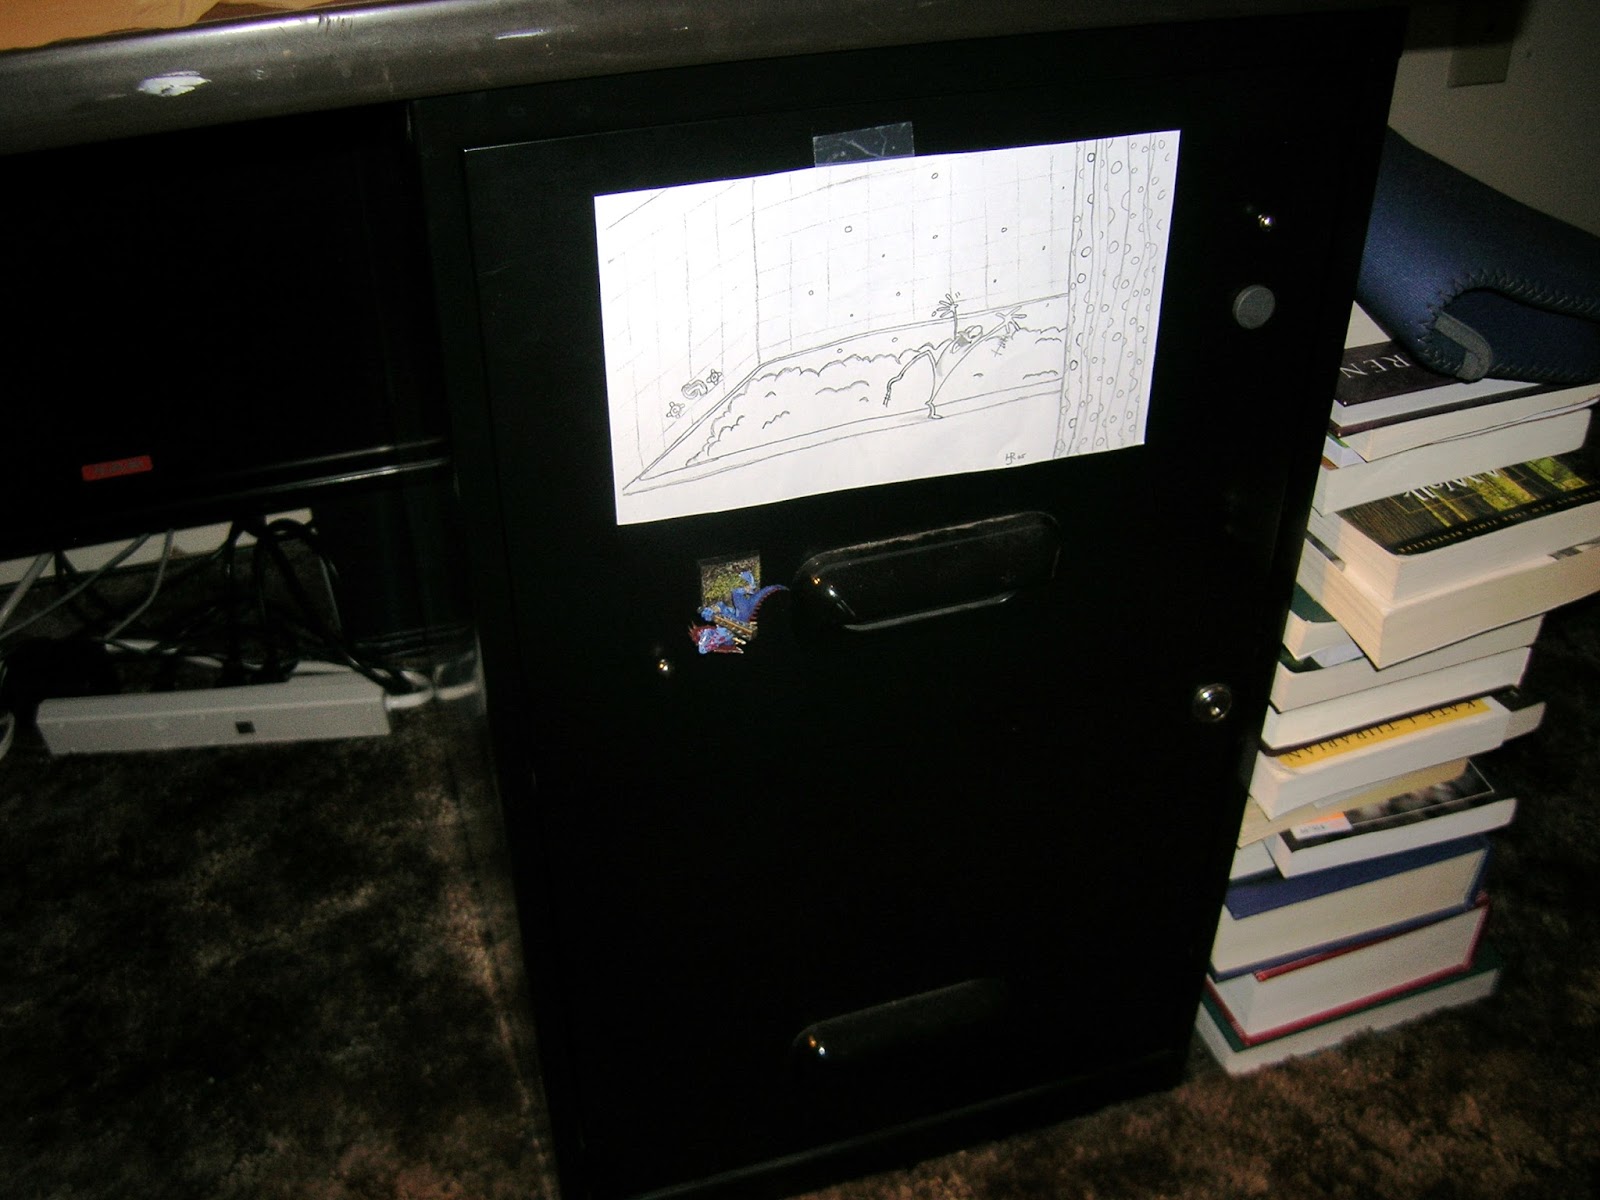
This is the little guy hanging from my file cabinet.

Then I assembly lined them. I think it took a total of 5 minutes to glue them in.


I ran out to Lowes and spent about $10 for movement try supplies. Here is a self-adhesive tile ($0.36 each) and the spru from some Tau. Not pictured is the sheet of galvanized steel I picked up in the air conditioning and heating area ($7.95 for 24" x 36").


Thankfully, I already had Tin Snips (scissors for metal) and gray spray paint primer that works on metal. I learned how to make these from my friend Bays at Albright's game store in Lexington. He suggested using the tiles with the smooth surface down so they slide easily across the game surface.
  1. I cut off pieces of the spru and cleaned it up.
  2. I lined up my Saurus the way I would in a game, 5 wide and 3 ranks deep with 1 left in the back.
  3. I bracket the rank and file with the spru and measured. It came out to just a hair under 13.5 mm wide and 10.5 mm deep.
  4. I carefully scored the self-adhesive vinyl tile with my X-Acto (hobby knife) and broke it off at the score lines.
  5. Next, wearing leather gloves, I used my Tin Snips to cut the steel sheet the same size. The steel can cut the crap out of you! IMPORTANT - next time I will cut the steel sheet smaller than the vinyl to prevent rough edges from sticking out. I also found it easier to cut out the rough out the shape from the big sheet, then fine tune it once the piece was smaller.
  6. I pulled off the backing to the self-adhesive tile and stuck the metal down to it. With good contact, there is no need to add more glue.

 7. Next, I started gluing down the spru.
 8. I only added 3 sides so it would be easier to slide the casualties out the back.


9. I took the movement tray to the kitchen and soaped it to remove the oils from my hands and dried it thoroughly.
10. Then I took my movement tray out side and primed it. This primer is water-based (as opposed to oil) and says it works on plastic and metal. Hopefully, it will be a nice surface to work with.


This is where I am at so far. I am letting the primer dry and now I have to get started on writing papers.

Tuesday, May 5, 2009

Waiting

I am waiting for Fed-Ex to deliver my mini-magnets today and its killing me. Now granted, I only ordered them on Saturday and I wasn't expecting them until next week but the Fed-Ex site says they are on the truck for delivery today. So now, I can't wait. Oh, and I should be writing end of term papers. AHHHH!

Update: The Fed-Ex truck has driven past my house 3 times now. She was going so fast, I couldn't get out there and flag her down! The 3rd time, I was out there and she never looked my way! As I left for class, the Fed-Ex truck is parked a block away and no one is in the truck. It's probably for the best. I might be tempted to skip class and play with my new toys.

I am also waiting for a model, my Tharn Ravager, to arrive at a local gaming store. It should have been here a week ago and it still isn't here. I think the mail system is conspiring against me =)

Sunday, May 3, 2009

Photo Box

I created a photo box. My roommate received a box from Amazon and I chopped it up.

The lights are set up with the more direct light above and the smaller arm-light moved to hit the shadows. There are still shadows but the two light system works great.

Here are a few pictures I took with my new box.


This is a picture of the stegadon I am building with the massive pin I will be using in its neck.


Saturday, May 2, 2009

In My Free Time

Homework is crazy right now but I have been working on assembling my old school stegadon. I had assembled a few pieces early on but I haven't touched it in about 2 years.


I am currently working on drilling and pinning all the necessary bits. I am rough on my models when I travel them up to the store and they will have to be in a moving van in roughly a year so I pin a lot. I am fairly certain I pinned the tail on. Here is what I plan to do.


This picture is from the back of the stegadon box. The blue lines are regular pins, though the one in the neck is a 1/8" nail. The red lines are pins I plan to glue into the skinks but will not glue into the stegadon. This way, I can remove casualties as needed. If it gets to be a problem later, I can always glue them then.

I have drilled most of the holes and I just need to get some more homework done before I break out the glue.


P.S. I just talked to my mom who lives far, far away and she decided she could buy me rare earth magnets for my birthday (in June). Woot!

Label Cloud

Mini's Past