The other day, I posted picks of the movement tray I am creating for my units of Long Gunners. Von, from Game Over and A Year of Frugal Gaming left a great comment I wanted to share (Von, I hope you don't mind me quoting you here):
Von said... Cool tray, no doubt about that, but I think there's a reason Warmachine players don't use them, and a consequence for you that you might not have thought about.
The sheer openness of Warmachine Mark II's formation rules open up a lot of tactical options (with lines of sight/fire, casualty removal, counter-attacks and so on), especially for high priority units with different actions and attacks available to them (like Trenchers and Long Gunners).
I worry that you're locking yourself into one rather limited formation, and thus locking yourself out of those options. I also worry about terrain, particularly buildings, although I assume you'll just abandon the tray there.
Of course, strength of play may not be as big a priority for you. This'll certainly speed up your play, and if you did a battlegroup and solos one as well, they'd be nice display/transport utilities.
I hadn't really thought about how the tray would lock me in. Recently, I have played several games with pHaley where I line up two full units of Long Gunners, 24 mini's, and shoot holes in the oncoming hordes. I thought it was a pain in the butt when I had to move them all up the first turn, thus the idea a tray was formed. I think I also just wanted to play with power tools =)
I like the imposed spacing so I don't get all my guys killed in one round of Khador AOE's. I also think I can leave the tray when needs be. I knew going into it that it would probably only help for turns 1 & 2. However, once they are in the tray, my tendency will be to leave them in that formation simply because I am too lazy to want to move them all. I pretty sure I would pull them off it when I needed to but it would have to be a conscious decision.
Another thing for me to consider is that the Long Gunners are at their best when they don't move. If they stand still, they get a +2 aiming bonus on either 1)their first of two shots at 12" each or 2) on a 24" shot. They also have the combined range attack ability. I might just start leaving them in their deployment zone starting positions. They won't get a shot the first turn but they have longer to shoot at the enemy. I guess it still depends on the scenario.
Anyway, Von, thank you for the comment. It has really given me a lot to think about. I still plan on finishing the tray and trying it out a couple of times. There is nothing like experience to show me if I made a movement tray or an interesting display board!
Thanks for reading!
Instagram Feed
Showing posts with label Movement Trays. Show all posts
Thursday, August 19, 2010
Sunday, August 15, 2010
Long Gunners and a Movement Tray
I have been working on my Long Gunners again. I last posted pics of them here. They now have most of their highlights done and I am trying to get the cloth to come out. The banner is the last thing to do. It has intimidated me for a while but I am almost ready to give it a go. Here are some recent pics of the progress.
On a different note, I have been playing around with the idea of creating a movement tray for them. Warmachine does not typically have movement trays but I am getting used to fielding two full units at 10+2 officers. With 24 mini's, I decided to take the plunge.
I went to my local craft store and purchased 1/8 x 4 x 24 piece of Basswood. It was $2.99, not bad for a movement tray. After WAY too long trying to figure out the best arrangement and the spacing to put in between the little guys, I drew out my circles on the board and started cutting.
I had purchased a Dremel Multipurpose Cutting Kit #565 but I had never used it before.

Turns out, it works great but it is very loud! I was afraid my apartment neighbors would call the office on me! I was out on the patio, which was good because of all the sawdust, but it was very loud. I used the kit to create the holes in the middle, then I finished them out with a sanding band. The sanding band was much quieter and was easier to control when I got next to my pencil lines.
I know it is hard to tell from this picture but the 3" blast template can only hit one mini when it is centered on a guy. I lose about 2" on my back rank's range but I don't get killed with bombards either. I also hope this will keep some of them out of charge range when it comes to that.
I considered making the tray magnetic but I already have the washers on the bases of the Long Gunners and I decided not to mess with it. Maybe next time.
The smartest thing I did was use the board as a template for my next movement tray. I certainly don't want to try all the crazy math and measurements I did on this one.
The dumbest thing I did? Well, I started putting a unit in the tray to take a picture for the blog and realized I only cut 10 holes. With the Officer Attachment, I am 2 short! Dang it! I will still use it, as I can always put two of the guys to the side or in a back rank. Still, I am happy with my first attempt.
Thanks for reading!
| I blocked in the major colors and the first hint of highlight. There are actually two different units here, distinguished by the color of their skirt. |
| Here is a close up of two of them, pretty close to done. |
I went to my local craft store and purchased 1/8 x 4 x 24 piece of Basswood. It was $2.99, not bad for a movement tray. After WAY too long trying to figure out the best arrangement and the spacing to put in between the little guys, I drew out my circles on the board and started cutting.
I had purchased a Dremel Multipurpose Cutting Kit #565 but I had never used it before.

Turns out, it works great but it is very loud! I was afraid my apartment neighbors would call the office on me! I was out on the patio, which was good because of all the sawdust, but it was very loud. I used the kit to create the holes in the middle, then I finished them out with a sanding band. The sanding band was much quieter and was easier to control when I got next to my pencil lines.| You might notice all the pencil lines where I thought the holes would go. Like I said, it took me a while. |
| This is what they look like in their new movement tray. Notice the second board underneath. |
I know it is hard to tell from this picture but the 3" blast template can only hit one mini when it is centered on a guy. I lose about 2" on my back rank's range but I don't get killed with bombards either. I also hope this will keep some of them out of charge range when it comes to that.
I considered making the tray magnetic but I already have the washers on the bases of the Long Gunners and I decided not to mess with it. Maybe next time.
The smartest thing I did was use the board as a template for my next movement tray. I certainly don't want to try all the crazy math and measurements I did on this one.
The dumbest thing I did? Well, I started putting a unit in the tray to take a picture for the blog and realized I only cut 10 holes. With the Officer Attachment, I am 2 short! Dang it! I will still use it, as I can always put two of the guys to the side or in a back rank. Still, I am happy with my first attempt.
Thanks for reading!
Labels:
Cygnar,
Long Gunners,
Movement Trays,
Warmachine
Thursday, August 27, 2009
Tharn Ravagers Finally Finished!
Okay, so it only took me several months but they are done! In fact, these are the first miniatures I have ever taken from start to finish (meaning based and varnished). I can still see places that I wish I had fixed but it is nice to have them done and sealed where I can't go back to them again! Here are the pics (click for a bigger view).
There is also one more red head shown in the group shot but not here.
Tharn Ravagers were 97% ---> now 100% complete!
While I had the varnish and static grass out, I also finished up the movement tray (click here for how I made it) for the Saurus Warriors. The Saurus still need varnish. I may get these done before I start my Cygnar Warmachines for my September deadline.
Friday, July 3, 2009
Movement Tray
I did this quickly while I was debating what to do with my Tharn Ravagers. I made the tray in this post. I based it with sand and sprayed it with Krylon's Ultra Flat Black Spray Paint sometime in the last few weeks. Today, I overbrushed it with FA's Burnt Umber, mimicking the basing I did on the Saurus Warriors I did in another post. I don't have any spray varnish so I will have to wait for the rest.
Labels:
Basing,
Movement Trays
Saturday, May 9, 2009
Sickness strikes!
Well, it's the end of the semester, I'm stressed out, and I caught a cold. It's just the way it goes. I have been writing papers and haven't done much with my minis. I touched up my Saurus and glued sand onto the movement tray. That's about it for now.
Wednesday, May 6, 2009
Magnet Fun!
My magnets finally came yesterday! Size = 0.250" diameter (6.4mm) and 0.063" thick (1.6mm).
I played around with them for a while and then started putting them on my minis. You can't see it from the pic but the magnet is thinner than the recess of the base. When they are on the movement try with the metal in it, the magnet will still pull but it will not actually touch the metal. I had heard that if these magnets stay in constant contact with metal, they will lose some of their pulling force. I'm not sure if that's the case, but why risk it?
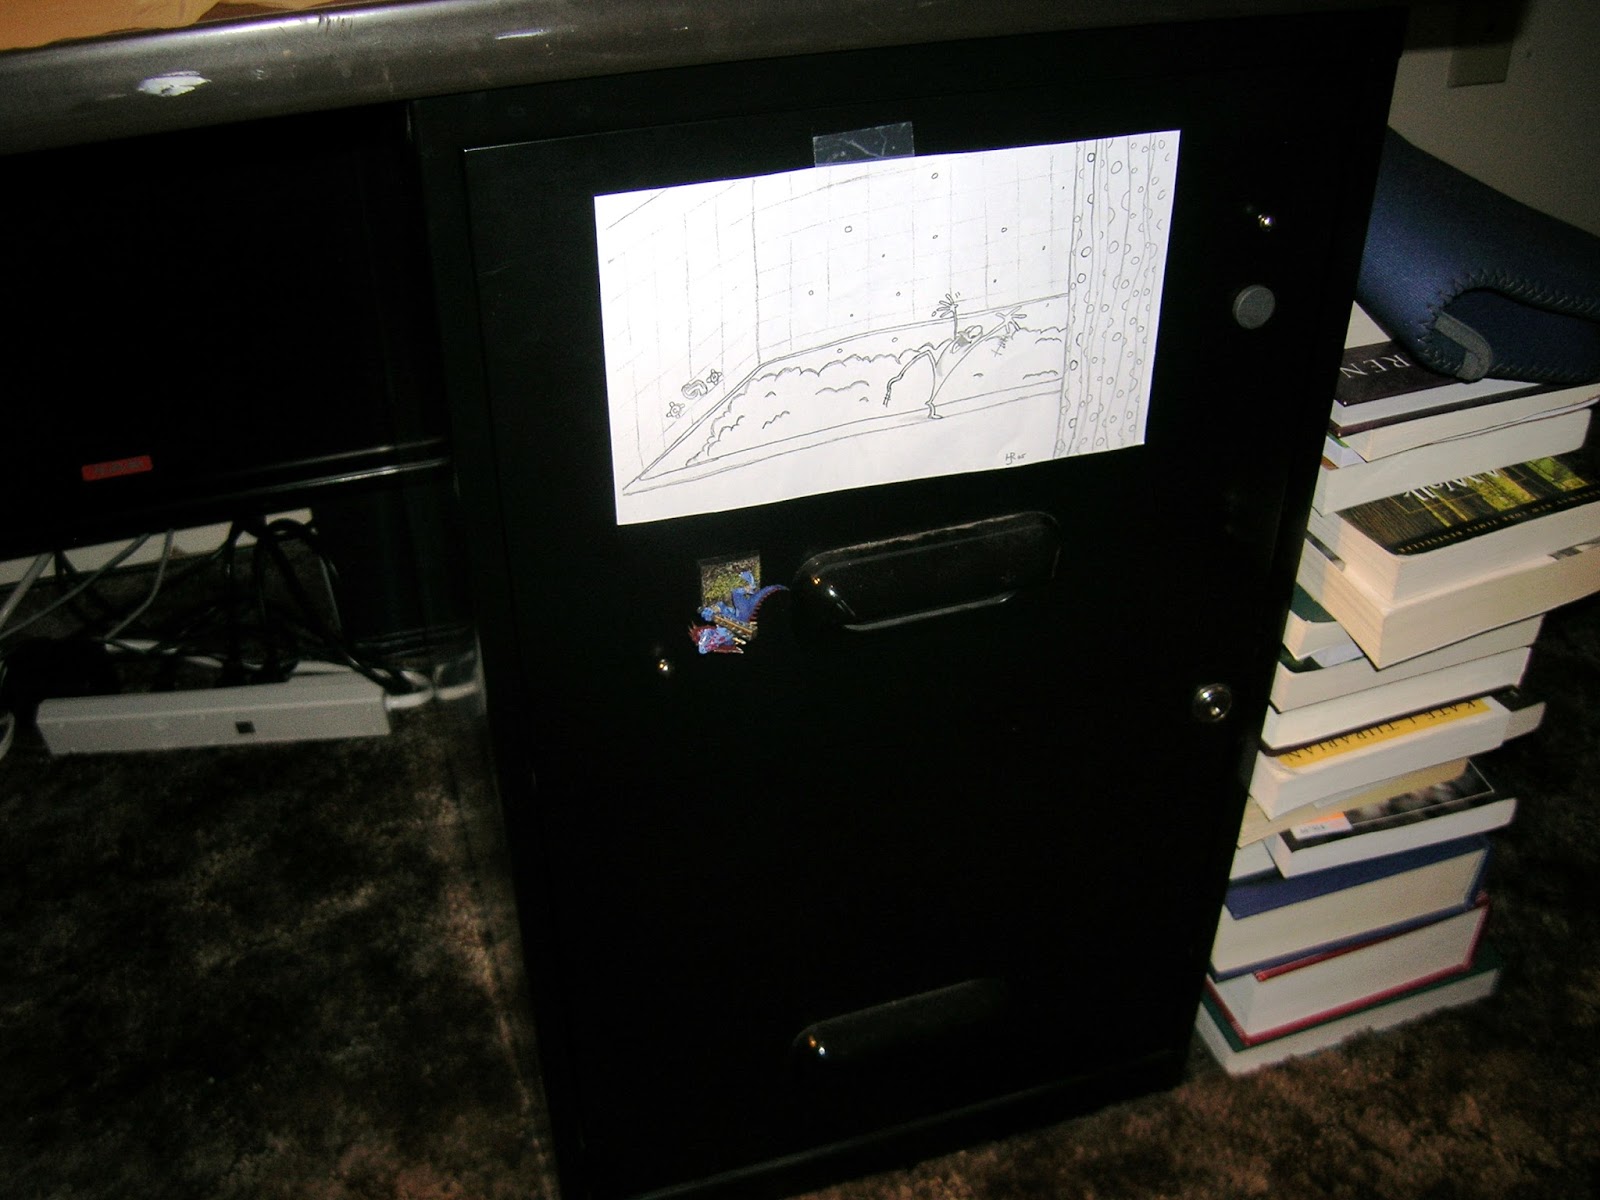
This is the little guy hanging from my file cabinet.
Then I assembly lined them. I think it took a total of 5 minutes to glue them in.
I ran out to Lowes and spent about $10 for movement try supplies. Here is a self-adhesive tile ($0.36 each) and the spru from some Tau. Not pictured is the sheet of galvanized steel I picked up in the air conditioning and heating area ($7.95 for 24" x 36").
Thankfully, I already had Tin Snips (scissors for metal) and gray spray paint primer that works on metal. I learned how to make these from my friend Bays at Albright's game store in Lexington. He suggested using the tiles with the smooth surface down so they slide easily across the game surface.
7. Next, I started gluing down the spru.
8. I only added 3 sides so it would be easier to slide the casualties out the back.
This is where I am at so far. I am letting the primer dry and now I have to get started on writing papers.
I played around with them for a while and then started putting them on my minis. You can't see it from the pic but the magnet is thinner than the recess of the base. When they are on the movement try with the metal in it, the magnet will still pull but it will not actually touch the metal. I had heard that if these magnets stay in constant contact with metal, they will lose some of their pulling force. I'm not sure if that's the case, but why risk it?
This is the little guy hanging from my file cabinet.
Then I assembly lined them. I think it took a total of 5 minutes to glue them in.
I ran out to Lowes and spent about $10 for movement try supplies. Here is a self-adhesive tile ($0.36 each) and the spru from some Tau. Not pictured is the sheet of galvanized steel I picked up in the air conditioning and heating area ($7.95 for 24" x 36").
Thankfully, I already had Tin Snips (scissors for metal) and gray spray paint primer that works on metal. I learned how to make these from my friend Bays at Albright's game store in Lexington. He suggested using the tiles with the smooth surface down so they slide easily across the game surface.
- I cut off pieces of the spru and cleaned it up.
- I lined up my Saurus the way I would in a game, 5 wide and 3 ranks deep with 1 left in the back.
- I bracket the rank and file with the spru and measured. It came out to just a hair under 13.5 mm wide and 10.5 mm deep.
- I carefully scored the self-adhesive vinyl tile with my X-Acto (hobby knife) and broke it off at the score lines.
- Next, wearing leather gloves, I used my Tin Snips to cut the steel sheet the same size. The steel can cut the crap out of you! IMPORTANT - next time I will cut the steel sheet smaller than the vinyl to prevent rough edges from sticking out. I also found it easier to cut out the rough out the shape from the big sheet, then fine tune it once the piece was smaller.
- I pulled off the backing to the self-adhesive tile and stuck the metal down to it. With good contact, there is no need to add more glue.
7. Next, I started gluing down the spru.
8. I only added 3 sides so it would be easier to slide the casualties out the back.
9. I took the movement tray to the kitchen and soaped it to remove the oils from my hands and dried it thoroughly.
10. Then I took my movement tray out side and primed it. This primer is water-based (as opposed to oil) and says it works on plastic and metal. Hopefully, it will be a nice surface to work with.
Subscribe to:
Posts (Atom)
Label Cloud