Instagram Feed

Showing posts with label Warhammer Age of Sigmar. Show all posts

Monday, October 12, 2009

Doom Wheel Ideas

Figs-Freak just posted a great question: What are some possible conversion ideas for the new Skaven Doom Wheel?

My Response:
What about a neat scenery piece with the wheel on its side and make it a barrel of blood or goo or BEER! Something along the lines of Ogre Kingdom's Skrag the Slaughterer - Be sure to direct your ideas over to Figs-Freak!

(Oger Pic from Games Workshop website)

Thursday, August 27, 2009

Tharn Ravagers Finally Finished!

Okay, so it only took me several months but they are done! In fact, these are the first miniatures I have ever taken from start to finish (meaning based and varnished). I can still see places that I wish I had fixed but it is nice to have them done and sealed where I can't go back to them again! Here are the pics (click for a bigger view).


There is also one more red head shown in the group shot but not here. Tharn Ravagers were 97% ---> now 100% complete! While I had the varnish and static grass out, I also finished up the movement tray (click here for how I made it) for the Saurus Warriors. The Saurus still need varnish. I may get these done before I start my Cygnar Warmachines for my September deadline.


Monday, August 24, 2009

Saurus Painting Guide

This is a continuation of the write up on White Dwarf's painting workshop for Lizardmen, May 2003, Issue #280. This is what I followed to paint my Lizardmen army and I like the results. Again, I just found the sheet in my files and wanted to commit it to the website before I lost it again. This is an adaptation of their article from page 28. I didn't keep as good a notes on the colors actually used so I will highlight the GW color's recommended and take my best guess about the paint I used. Please adjust this when painting. When I was certain, I mentioned the FA (Folk Art) brand first and highlighted it. This would be much more difficult to replicate since I took less accurate notes =(


Prep:
  • Assemble the model minus the shield. Consider pinning the arms but most of the Saurus arms have stayed. If I do these with the spears, I think I would definitely want to pin them.
  • I ranked them up before I put the heads on to make sure they fit together and then glued the heads of the left guard facing outward. I might like to do the same on the right side next time.
  • These worked out just fine to be painted on their bases.
  • Now is also the time to glue sand, cork, or any pebbles you want on the base.
  • This is also a good time to make the movement tray for them and coat it with sand.
  • I also think it would help to magnetize the mini's now so they can be more easily handled.
Undercoat:
  • Spray black primer on the mini's and the movement tray. Touch up with watered down FA's Pure Black.
  • Now paint the whole model (except perhaps the weapons but this can be touched up later) with GW's Enchanted Blue thinned with a little water (FA's Colbalt Blue or Brilliant Ultramarine?).
Bases:
  • Now is probably a good time to over brush the base and movement tray with FA's Burnt Umber.
  • Then drybrush with FA's Teddy Bear Tan. Set the movement tray aside now until it is time to varnish and static grass.
Shading:
  • Drybrush the skin with a mix of GW's Enchanted Blue and Ice Blue, 1:1. (Ice Blue may be FA's Light Blue or Baby Blue).
  • Wash the entire model in GW's Blue Ink mixed with a generous amount of water for more even coverage.
  • The ink darkened the model so now drybrush just the skin with the mix of GW's Enchanted Blue and Ice Blue, 1:1.
  • Highlight the skin with GW's Ice Blue.
Back Scales:
  • Paint with GW's Regal Blue (I am pretty sure this was FA's Prussian Blue).
  • Then drybrush with GW's Enchanted Blue. Keep the drybrushing under control and on the scales only.
Back Spines and Head:
  • Basecoat the back spines with 2 coats of GW's Red Gore = FA's Alizarin Crimson.
  • Stipple the red splotches on the head plate with GW's Red Gore = FA's Alizarin Crimson.
  • Highlight the spines and splotches with GW's Blood Red = FA's Napthol Crimson.
  • I seem to have given the higher up guys more splotches, perhaps suggesting more age.


Weapons:
  • Spears are given a basecoat of FA's Pure Black, then FA's Burnt Umber.
  • Highlight with a mix of GW's Scorched Brown and Snakebite Leather, 1:1. I probably used FA's Honeycomb or Teddy Bear Tan, possibly Raw Sienna.
  • Highlight with GW's Snakebite Leather.
  • Hand weapons are given a basecoat of FA's Pure Black, then drybrushed with FA's Medium Gray.
Shields
  • Spray black primer
  • Dry Brush FA's Black Cherry (GW's Scab Red) and FA's Alizarin Crimson (GW's Red Gore) pretty heavy.
  • Paint the top half of each scale with FA's Napthol Crimson (GW's Blood Red).
  • Add a highlight line around the top of each scale with FA's Pure Orange (GW's Blazing Orange).
  • (The following 3 steps mimic the jewelry section and can be done at the same time).
Jewelry and metallic bits on the weapons:
  • (If you have done the shields' scales, this part can be applied to their details too.)
  • Basecoat the jewelry with FA's Pure Black.
  • All metallic bits were painted with FA's Metallic Antique Gold., and highlighted with FA's Metallic Pure Gold.
  • Use FA's Metallic Gunmetal Gray for the blade of the spear (GW's Boltgun Metal).
  • Highlight the blade of the spear with FA's Metallic Silver Sterling., (GW's Mithril Silver)
  • Teeth on the hand weapon, teeth on the shields, and darts on the blowpipe were picked out with FA's Teddy Bear Tan, then highlighted with FA's Tapioca. Leave some of the Teddy Bear Tan to give the teeth an aged look.
  • Pick out the claws with FA's Tapioca. Any of the Tapioca can be highlighted with a little more white added it needed.
Mouth:
  • The mouth and tongue were painted with FA's Alizarin Crimson, similar to GW's Red Gore.
  • Highlight the tongue with FA's Skintone.
  • Pick out the teeth with FA's Tapioca.
Eyes:
  • The eyes were painted with FA's Napthol Crimson, then a small dot of black was made in each pupil with a very fine tip sharpie marker. Okay, so it's cheating a little but those things are incredible small!


Glue on the Shields.
Check them over for details and paint the edges of the bases black again.
Varnish the mini's and the movement tray with matt varnish.
Eyes, tongue, and mouth can be painted with gloss varnish for a more realistic wet look.
Glue on Static grass on the mini's and movement tray.
March them off to war!

Sunday, August 23, 2009

Skink Painting Guide

Originally, White Dwarf published a painting workshop for Lizardmen, May 2003, Issue #280. I just found the sheet in my files and wanted to commit it to the website before I lost it again. Please feel free to skip to the pic at the end =) This is an adaptation of their article from page 20. (That issue also has a great article on building a game table!)


Prep:
  • Assemble the model minus the shield. Consider pinning the arms but know they are going to fall off. If I do these again, I will try to position most of the arms "tucked in" so that the blowpipe arm is less likely to pop off.
  • I might also consider doing these off the bases so I can do more with the bases but there are so many, it is simply faster put them on the base. Also, their legs are far enough apart to drybrush easily.
  • Now is also the time to glue sand, cork, or any pebbles you want on the base.
  • This is also a good time to make the movement tray for them and coat it with sand.
  • I also think it would help to magnetize the mini's now so they can be more easily handled.
Undercoat:
  • Spray Black or black primer on the mini's and the movement tray. Touch up with watered down FA's Pure Black.
  • Now paint the whole model (except perhaps the weapons but this can be touched up later) with FA's Thunder Blue thinned with a little water.
Bases:
  • Now is probably a good time to over brush the base and movement tray with FA's Burnt Umber.
  • Then drybrush with FA's Teddy Bear Tan. Set the movement tray aside now until it is time to varnish and static grass.
Shading:
  • Wash the skin with FA's Azure Blue and water 1:1.
  • Drybrush the skin with FA's Baby Blue. The article said GW's Shadow Gray and GW's Space Wolves Gray but I went with just Baby Blue.
  • Paint the inside of the head fin with FA's Light Blue.
  • The crest is lined with FA's Metallic Emerald Green.
Back Scales:
  • Paint with FA's Thunder Blue.
  • Then paint with FA's Metallic Emerald Green.
Weapons:
  • Hand weapons and blowpipes are given a basecoat of FA's Pure Black.
  • Then drybrushed with FA's Medium Gray (GW's Codex Gray).
Shields
  • Spray black primer
  • Dry Brush FA's Hauser Green Dark pretty heavy but try to leave the black in between the scales.
  • Paint the top half of each scale with FA's Holly Leaf.
  • Add a highlight line around the top of each scale with a mix of FA's Holly Leaf and Tapioca, 1:1.
  • (The following 3 steps mimic the jewelry section and can be done at the same time).
Jewelry and metallic bits on the weapons:
  • (If you have done the shields' scales, this part can be applied to their details too.)
  • Basecoat the jewelry with FA's Pure Black.
  • All metallic bits were painted with FA's Metallic Pure Gold, then washed with GW's Brown Ink. Today, I might try FA's Metallic Antique Gold or P3's Brass Balls, but back then I used the Pure Gold and ink wash.
  • Teeth on the hand weapon, teeth on the shields, and darts on the blowpipe were picked out with FA's Teddy Bear Tan, then highlighted with FA's Tapioca. Leave some of the Teddy Bear Tan to give the teeth an aged look.
Mouth:
  • The mouth and tongue were painted with FA's Alizarin Crimson, similar to GW's Red Gore.
  • Highlight the tongue with FA's Skintone.
  • Pick out the teeth with FA's Tapioca.
Eyes:
  • The eyes were painted with FA's Medium Yellow, then a small dot of black was made in each pupil with a very fine tip sharpie marker. Okay, so it's cheating a little but those things are incredible small!
Glue on the Shields. Check them over for details and paint the edges of the bases black again. Varnish the mini's and the movement tray with matt varnish. Eyes, tongue, and mouth can be painted with gloss varnish for a more realistic wet look. Glue on Static grass on the mini's and movement tray. March them off to war!


Saturday, May 9, 2009

Sickness strikes!

Well, it's the end of the semester, I'm stressed out, and I caught a cold. It's just the way it goes. I have been writing papers and haven't done much with my minis. I touched up my Saurus and glued sand onto the movement tray. That's about it for now.

Wednesday, May 6, 2009

Magnet Fun!

My magnets finally came yesterday! Size = 0.250" diameter (6.4mm) and 0.063" thick (1.6mm).


I played around with them for a while and then started putting them on my minis. You can't see it from the pic but the magnet is thinner than the recess of the base. When they are on the movement try with the metal in it, the magnet will still pull but it will not actually touch the metal. I had heard that if these magnets stay in constant contact with metal, they will lose some of their pulling force. I'm not sure if that's the case, but why risk it?


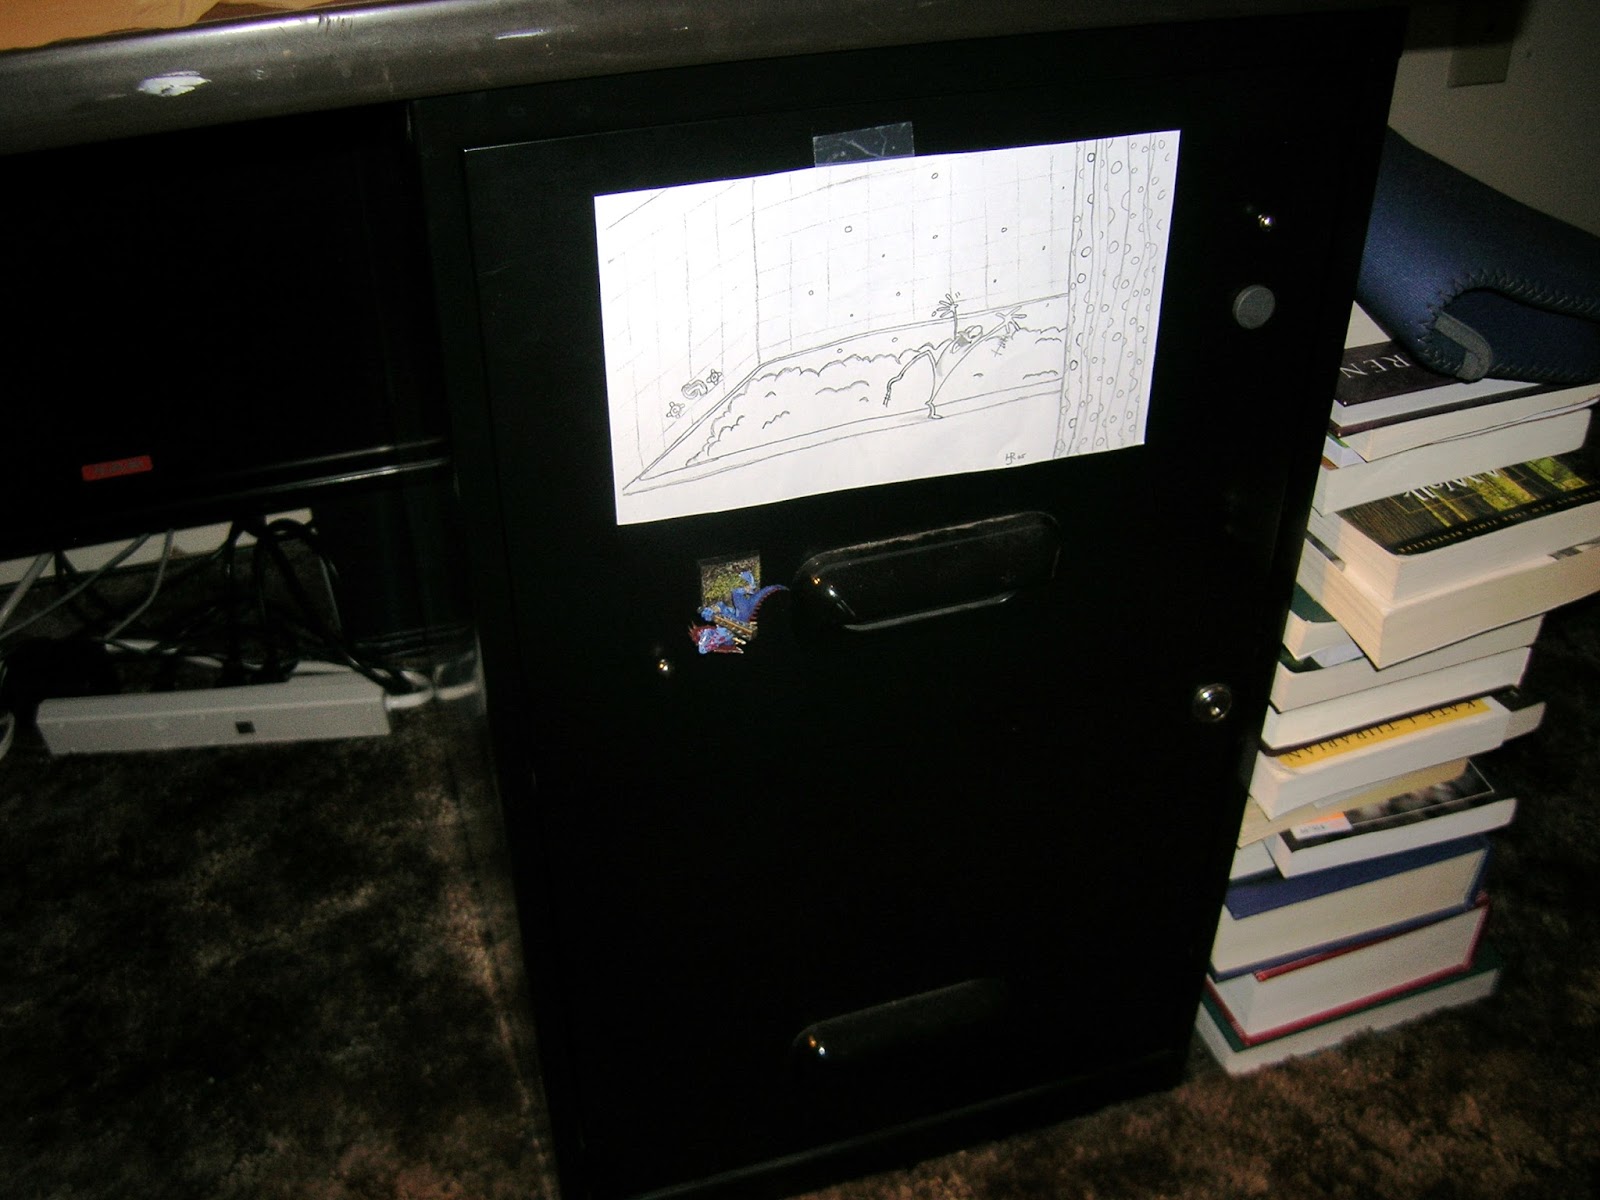
This is the little guy hanging from my file cabinet.


Then I assembly lined them. I think it took a total of 5 minutes to glue them in.


I ran out to Lowes and spent about $10 for movement try supplies. Here is a self-adhesive tile ($0.36 each) and the spru from some Tau. Not pictured is the sheet of galvanized steel I picked up in the air conditioning and heating area ($7.95 for 24" x 36").


Thankfully, I already had Tin Snips (scissors for metal) and gray spray paint primer that works on metal. I learned how to make these from my friend Bays at Albright's game store in Lexington. He suggested using the tiles with the smooth surface down so they slide easily across the game surface.
  1. I cut off pieces of the spru and cleaned it up.
  2. I lined up my Saurus the way I would in a game, 5 wide and 3 ranks deep with 1 left in the back.
  3. I bracket the rank and file with the spru and measured. It came out to just a hair under 13.5 mm wide and 10.5 mm deep.
  4. I carefully scored the self-adhesive vinyl tile with my X-Acto (hobby knife) and broke it off at the score lines.
  5. Next, wearing leather gloves, I used my Tin Snips to cut the steel sheet the same size. The steel can cut the crap out of you! IMPORTANT - next time I will cut the steel sheet smaller than the vinyl to prevent rough edges from sticking out. I also found it easier to cut out the rough out the shape from the big sheet, then fine tune it once the piece was smaller.
  6. I pulled off the backing to the self-adhesive tile and stuck the metal down to it. With good contact, there is no need to add more glue.

 7. Next, I started gluing down the spru.
 8. I only added 3 sides so it would be easier to slide the casualties out the back.


9. I took the movement tray to the kitchen and soaped it to remove the oils from my hands and dried it thoroughly.
10. Then I took my movement tray out side and primed it. This primer is water-based (as opposed to oil) and says it works on plastic and metal. Hopefully, it will be a nice surface to work with.


This is where I am at so far. I am letting the primer dry and now I have to get started on writing papers.

Saturday, May 2, 2009

In My Free Time

Homework is crazy right now but I have been working on assembling my old school stegadon. I had assembled a few pieces early on but I haven't touched it in about 2 years.


I am currently working on drilling and pinning all the necessary bits. I am rough on my models when I travel them up to the store and they will have to be in a moving van in roughly a year so I pin a lot. I am fairly certain I pinned the tail on. Here is what I plan to do.


This picture is from the back of the stegadon box. The blue lines are regular pins, though the one in the neck is a 1/8" nail. The red lines are pins I plan to glue into the skinks but will not glue into the stegadon. This way, I can remove casualties as needed. If it gets to be a problem later, I can always glue them then.

I have drilled most of the holes and I just need to get some more homework done before I break out the glue.


P.S. I just talked to my mom who lives far, far away and she decided she could buy me rare earth magnets for my birthday (in June). Woot!

Wednesday, April 29, 2009

New Army List

If I were to play the game again with the minitures I have, I think I would bring this:
  • 635 = Kroq-Gar
  • 84 = Skink Chief with Armor, Shield, and Battle standard
  • 540 = Cold One Calvary with Command
  • 206 = Saurus with Command
  • 83 = Unit A of 11 Skink Skirmishers with Brave
  • 83 = Unit B of 11 Skink Skirmishers with Brave
  • 166 = Unit C of 20 Skink Skirmishers with Brave and Javelins
  • 180 = 4 Jungle Swarm
  • 114 = 9 Chameleon Skinks with Stalker
  • 160 = 6 Terradons with Brave

Game Time

So I played my first Warhammer Fantasy game in forever. I finished pinning my Saurus Calvary and my Old One on Carnosaur. Here is my final list. I may have taken a few more points than I was supposed to but I went with what was in the computer at the store.
  • 573 = Kroq-Gar
  • 222 = 16 Saurus Warriors with Command
  • 180 = 24 Skink Skirmishers with Scouting and Brave
  • 131 = 20 Skinks in unit with brave
  • 580 = 14 Saurus Cavalry with Command and Sun Standard of Chotec
  • 141 = 9 Chameleons with Stalker
  • 185 = 5 Terradons with Brave
  • 59 = Skink Chief
  • 180 = 3 Jungle swarms
Lizardmen on the Move (being attacked by a giant cat! No Callie, No!):
Photobucket

I played against Dwarves and the guy was really nice. Here are a few things I learned early on.
  • Dwarves have crossbow troops that can shoot 30 inches. On a 48 inch board, there is the possibility they can hit my troops at long range. I was close to having my Terradons on that side of the board but thankfully, someone showed me the error.
  • I took a unit of Skinks with out the skirmishing option and without the Kroxgors. First, I don't have Kroxgor models, so I couldn't add them to the unit. Second, because they were not skirmishers, just the unit, I couldn't charge through them. I lined them up in a single rank across the front of my other units and used them as a meat sheild. they tied up my units so the Dwarven player decided not to shooat them. The effect was my troops ended up in front of him untouched. However, they didn't arrive until turn 4.
  • The unit of skinks that I did take ended up standing and shooting at a charge. They lost and were overrun. Instead, I should have fled and regrouped to shoot at the dwarves again. I did this very effectivly with my Chamelons on the other side of the board.
  • Don't line up Saurse in the woods!
  • A Carnosaur with 14 Cavalry can take quite a bit of punishment.
  • Terradons can lock up shooters.
  • Swarms can eat up shots.
  • Board quarters are important.

Tuesday, April 28, 2009

Game Tomorrow

I am excited about my game tomorrow. I still need to pin my 8 cavalry to the old school cold ones. Hopefully, the pinning will get done tonight. I decided to split the cavalry into 2 units, each with command and a magic standard. I also dropped the Skink Priest. I just really don't want to have to deal with magic, though I understand the Lizardmen have really strong magic in the Slann mages. That will have to wait until I have a little more money.
  • Points = Unit
  • 635 = Kroq-Gar (Lord)
  • 206 = 16 Saurus with full command (Core)
  • 146 = 20 Skink Skirmishers with Brave (Core)
  • 138 = 26 normal Skinks with Brave (Core)
  • 180 = 4 Jungle Swarm
  • 266 = 6 Cavalry with Command (Core)
  • 25 = Huanchi Standard
  • 338 = 8 Cold One Cavalry with Command (Special)
  • 40 = Sun Standard of Chotec
  • 114 = 9 Chameleon Skinks with stalker (Special)
  • 160 = 5 Terradon Riders with Brave (Special)
Total = 2248 out of 2250 possible points.

My First Static Grass

I have never used static grass before. I like the effect but I never really got to the basing phase (see my previous post). I had already painted the bases with black and overbrushed with dark brown (FA's Dark Umber). Then I dry brushed with FA's Teddy Bear Tan, a much lighter brown. I liked the effect but it was still a little dark. So I finally busted out my static grass (I think I bought it 5 years ago). I used a brush to but straight Elmer's in the low parts of the base. I was able to do the 20 Saurus Warriors, 4 of 5 Terradon bases, and 2 Skink Priests. This is what I came up with and I love it.


I still have the Calvary and the skinks to static grass but they will have to wait for next week.

Friday, April 24, 2009

Basing

I have never been good at basing. At first, I didn't know where to start, so I left it to the end. I have also never been good at deciding a model was done so I never was good at spraying them with varnish. Of all my many models, none have varnish. Therefore, none have bases either, because I was leaving that until the end. So now, I am basing, regardless if it is done. In fact, when I do my Tharn Ravagers, I think I will put the basing material down before I prime it!

So I decided to paint the bases I did last night with FA's Burnt Umber, a really dark brown. I think I did a cross between over brushing and bad painting. I wanted to leave the black in the crevasses, so I dipped my flat blade bush in the paint, ran it across the rim of the paint tray, then drug it across the surface. If the paint covered all the black or just hit the high points, I just let it do what it was going to do. It looks ok now, even if it is a little dark for the Jungles of Lusteria. I did this assembly line for 5 Terradon bases, 16 Saurus, 2 Skink Priests, and a Cold One.


Thursday, April 23, 2009

Touching Up Terradons & More

I wanted to touch up my Terradons before next week's game so I dug out (and was actually able to find) my notes for how I painted them. I don't have step by step pictures but here is the process.
  • Base with a black wash or primer
  • Wash with Folk Art's Hauser Green Dark (I don't remember if I covered the wings too. Now, I wouldn't)
  • Dry brush the green areas with FA's Holly Leaf
  • Paint the wing membrane with FA's Tapioca tinted with FA's Hauser Green Light. It makes a light pus color. I did this in two coats. Now days, I might start with a wash of the light green and then highlight with the mix.
  • I lined in veins on the wings of FA's Medium Yellow.
  • Dry (very dry) brush wings and everything with FA's Hauser Green Light.

Knowing all that, here is the starter picture of what I will touch up on all of them:


You can see the holes in the paint left by the old glue bases.


After touching them up, I decided to go ahead and sand the bases. I mixed Elmer's and a little water and painted it on. Then I dipped them in my basing material (sifted fine sand).


With the glue already mixed up, I decided to touch up the basing material on the Saurus.


There was also one Saurus Calvary that didn't have basing material so I covered it also. After touching the Cold One Calvary, I wanted to glue the riders to the their mounts. I simply used plastic glue and I may have to pin them later if they pop off. I None of this took too long, so I decided to mix up Elmers, water, and FA's Black paint. I started painting and it took a while. But here is what it looks like now.


I meant to just sit down and do a short project but you know how that goes.

Wednesday, April 22, 2009

Game Next Week

One of the guys at the store has agreed to play me next week. He knows Lizardmen well and is a great teacher. So we will meet with 2250 points. This is what I came up with:
  • 635 pts = Kroq-Gar (Lord)
  • 100 = Skink Priest lvl 2 (Hero)
  • 206 = 16 Saurus with full command (Core)
  • 146 = 20 Skink Skirmishers with Brave (Core)
  • 128 = 24 normal skinks with Brave (Core)
  • 180 = 4 Jungle Swarm
  • 540 = 14 Cold One Cavalry with Command (Core due to Kroq-Gar)
  • 40 = Sun Standard of Chotec
  • 114 = 9 Chameleon Skinks with stalker (Special)
  • 160 = 5 Terradon Riders with Brave (Special)
and the grand total is 2249. This is open to revision and any advice would be helpful.

Another Short Project

Ok, so the gluing and pinning of the old Terradons didn't take as long as I thought. I would say less than an hour. I did go ahead and use the Dremal tool on all 4 of the underbellys and again, the remaining plastic melted to the drill bit. However, I was able to remove it more quickly (with a file and a pair of clippers) and it sped up the process. In the pictures below, you can make out the pins in the flying bases. Again, I didn't glue the end that goes in the bases so they are removable for transport.


Tuesday, April 21, 2009

A Short Project

Last week, the guys at the store showed me how to make the flying bases of Terradons better. I did the first one in the blog here. I really just wanted a short, brainless project while I watch the new episode of Deadliest Catch.

It took no time at all to cut the flying bases from the Terradons. I used super glue and it has held great, even 2 years later. Where I was less than careful with it and it pooled out, I now have bare metal showing. I used the pin vice again to drill out the clear post. 4 of them with a short pizza break took about 1 hour. I would guess actual time was 30 minutes but my fingers kept needing a break. I will dremal the metal Terradons in the next few days and get the pins glued in. Estimated time: 1.5 hours.

Monday, April 20, 2009

Looking at the Lizardmen Army

Well, there are several things I need to do for this army (without buying anything).
The Saurus bases still need to be painted and the movement tray needs to be based. I really want to put the rare earth magnets on the models and the metal plate on the move tray but this is a strictly no $$$ time.


The Saurus Calvary needs about 4-5 hours of painting and then glue them to their cold ones


I would like to re-base the 4 other Terradons like I did with the broken one here


The Salamander needs painting.


The Carnosaur Old One needs about an hour more paint and then be pinned. I would like to base the Carnosaur with a more modeled base but I am honestly a little intimidated and not sure where to begin. I will probably take him up to the shop and get the guys to help me get started.
I have an old school Stegadon that still needs assembly and paint. Eventually, the entire army needs static grass on the bases.


I have a busy week at school so none of this will get done but maybe now I can break it into smaller pieces. (see the new list on the side bar: Pieces of Projects)

Label Cloud

Mini's Past